
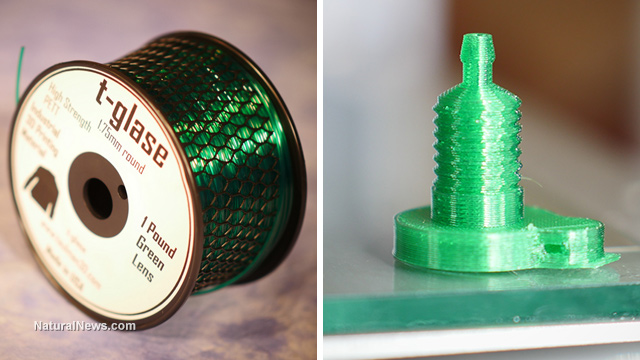
Food Rising is the non-profit website where you can learn how to make your own non-electric food grow systems that produce strawberries, tomatoes, lettuce and medicinal herbs without using electricity. A key part of the system -- the automatic float valve -- can be 3D printed by downloading the free object files posted on www.FoodRising.org
Additional inventions are coming this year, including my next invention which is an object that can remove arsenic from contaminated well water. This object will also be freely posted and downloadable. It can be printed on any 3D printer.
T-glase (pronouced "tee-glass") is a PET-based filament created by Tom Taulman of the Taulman company near St. Louis, Missouri. Taulman is best known for its "bridge nylon" filament which produces structurally rigid objects for prototyping and real-world use.
After testing PLA, ABS, nylon, Colorfabb XT, various PET filaments and many others, I found that Taulman t-glase was the ideal filament for Food Rising projects.
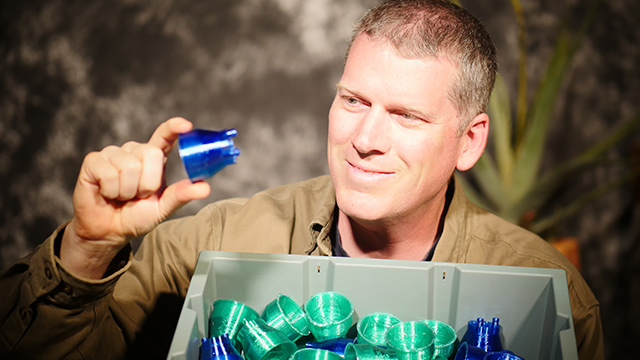
Here's a pic of me holding some of the Float Valve Adapters we're mass printing with Taulman t-glase:
Why, exactly, is it the ideal filament? Let me count the ways:
T-glase is available now at SupplySource.com, in both 1.75 and 2.85mm diameters, in colors that include red, green, blue and black.
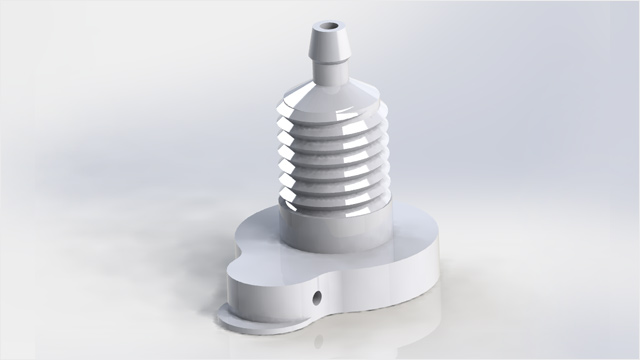
Render of the Float Valve Receiver available at FoodRising.org:
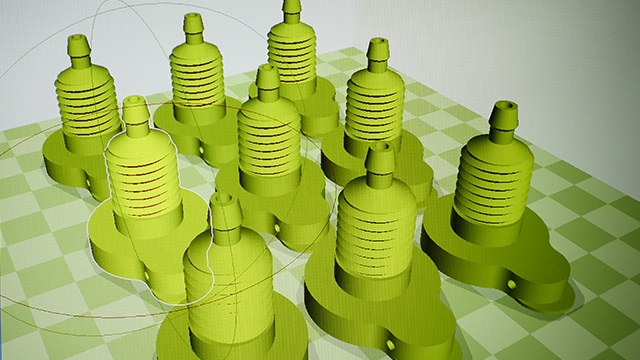
Print farm screen shot, producing nine of these receivers on the Lulzbot Mini:
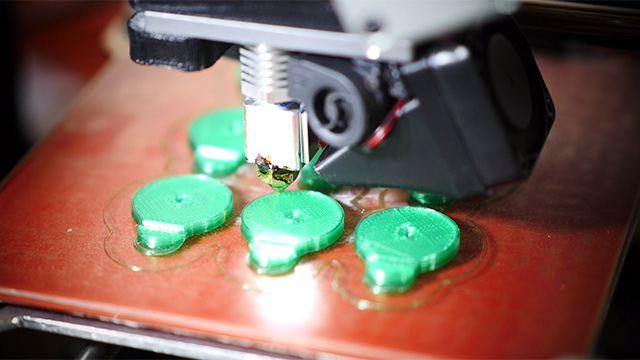
Printing them on the Lulzbot Mini. Notice the PEI print bed and NO GLUE!
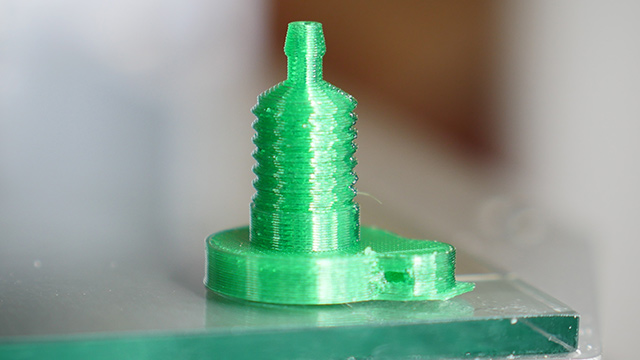
Finished part. Notice the precision threads:
T-glase is remarkably easy to print if you adhere to the guidelines. Bed adhesion is best achieved by applying this Lulzbot PEI print surface to your existing print bed. After you achieve this, you do NOT need to use any glue, ABS juice or any other method at all.
With PEI sheets, you can be 100% free of bed adhesives!
Printing some Float Valve Adapters on the Ultimaker 2 using t-glase:
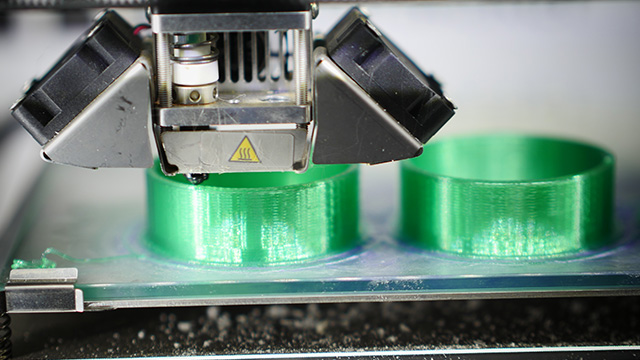
Next, you need to increase the size of your print nozzle to a minimum of 0.5mm. Printers that come with nozzles of 0.4mm will need to be drilled out to 0.5mm or larger. (I run some printers at 0.6mm and others at 0.7mm.) This can be accomplished using these micro drills and some careful finger-twisting / hand-drilling. (Do not use a Dremel or you will break off the drill bit inside the nozzle. Fun!)
For many printers, you can simply buy nozzles of 0.5mm or better. The new Lulzbot Mini ships standard with a 0.5mm nozzle that works great with T-glase!
Next, you'll want to set a print temperature between 240C and 250C. This is much hotter than what people have previously reported for T-glase, but I have this information straight from Tom Taulman himself. He told me on the phone, "You want to set your temperature as high as you can go without producing air bubbles in the print." In other words, keep raising your temperature until you get air bubble effects, and then back off about 5 degrees. That's the temperature you want. For my printers, it's almost always at 250C.
PRINT SPEED:
T-glase must be printed more slowly than ABS and other filaments. For the objects I'm printing, which have negative space cylinders and inverted cones that are susceptible to cross-stringing, the max speed I use is around 40mm/s. You can push it to 45 in some circumstances, but I would never exceed 45 when printing t-glase.
For the first layer of t-glase, slow it way down to around 16mm/s. (This is set in your slicer.)
SLICER SETTINGS:
I like Cura as the slicer. It just works. The most important setting in your slicer is the layer height. Most people go totally bonkers on this and think that if they set a smaller layer height, they get a better objects. This is flatly false. Please understand that smaller layer heights make more fragile objects. Larger layer heights make stronger objects due to the laws of chemistry and physics (more material is bonding with each layer). So when printing functional objects using t-glase, you want a layer height of .25mm or more.
Larger layer heights also print objects far more quickly. So if you want strong objects faster, use larger layer heights.
I usually run most of my Food Rising objects at .35mm layer heights. Objects that contain threads, such as the Float Valve Receiver, will be run at .30mm layer height. Certain parts for my upcoming inventions (things that remove arsenic from well water) need to be printed at .25mm layer height. But overall, you want to run t-glase at around 0.3mm layer height.
SUMMARY:
Print temperature: 250C
Bed temperature: 0C - 70C
Nozzle size: 0.5mm - 0.7mm (0.4mm nozzle is too small to print t-glase)
Layer height: 0.35mm (do not go below 0.25mm)
Print speed: 20 - 40 mm/s (use 16mm for first layer)
T-glase is available now at SupplySource.com in various colors and filament diameters.
Posted 3/19/2015
Posted 3/17/2015
Posted 3/10/2015